This guide will walk you through the process of adding your first SKUs to OmniOrders. Follow the instructions below to create and manage your products effectively. It will show you the steps on how to do it.
Go to app.omniorders.com
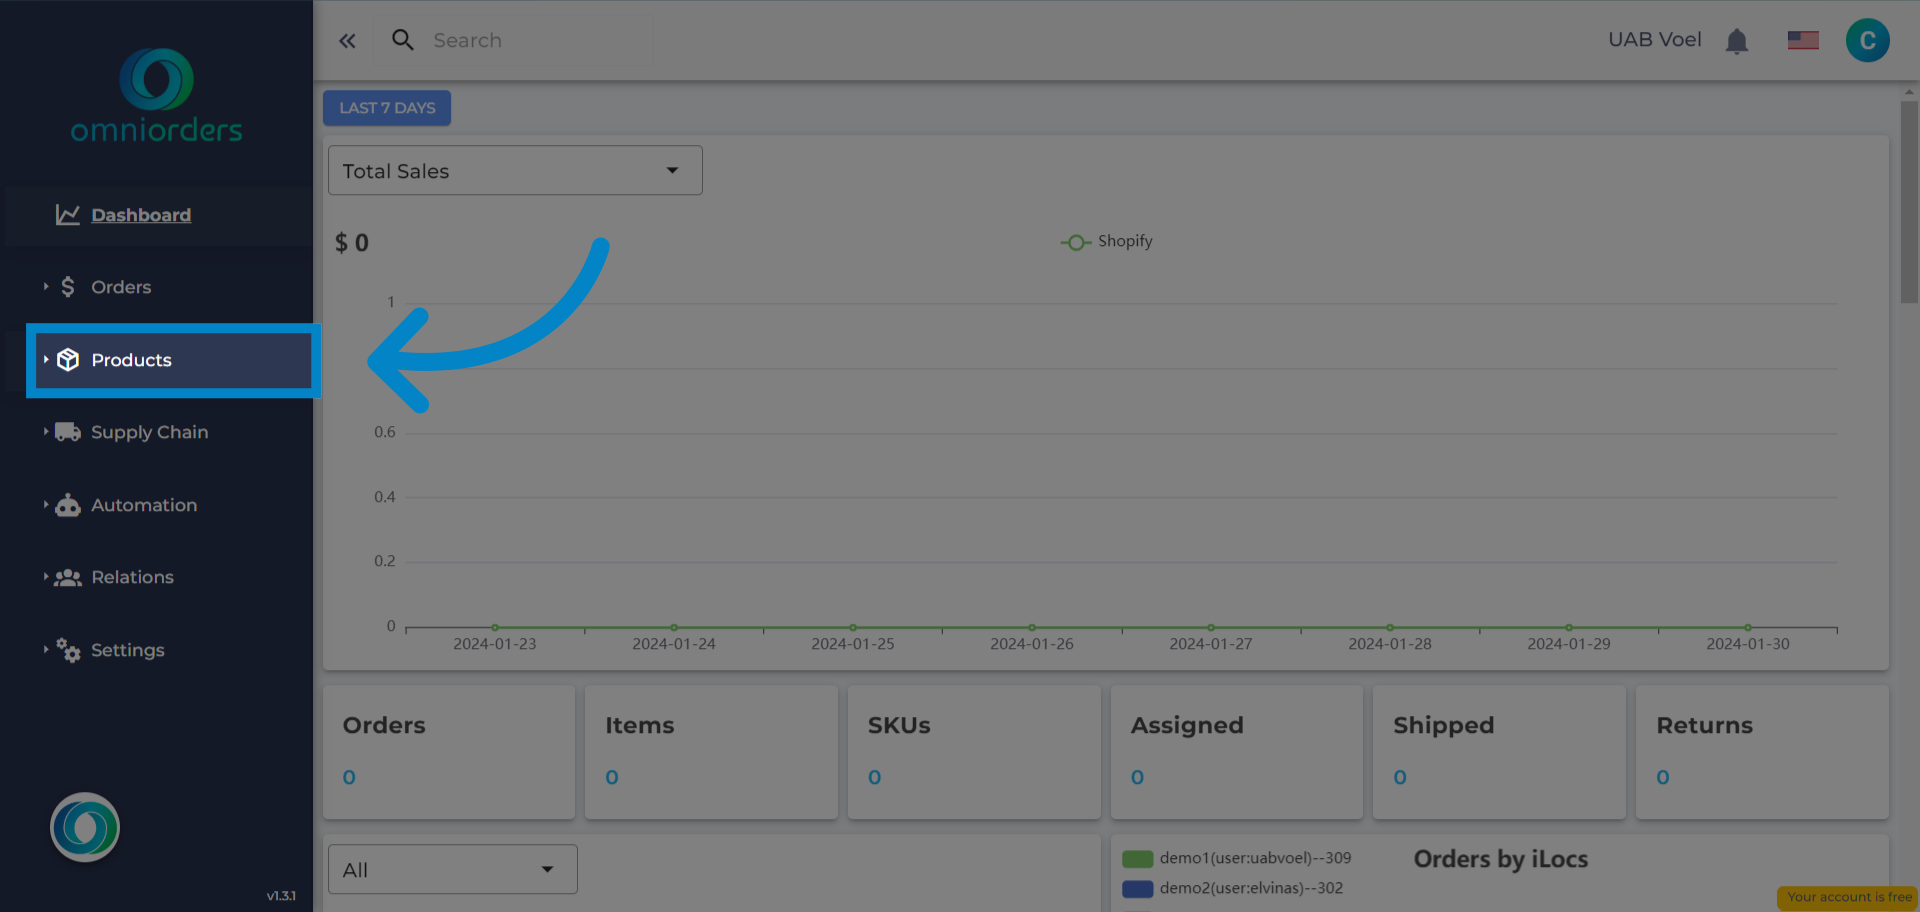
1. Click "Products"
Once you log in to your OmniOrders account choose the "Products" option from the menu at the left side of your screen.
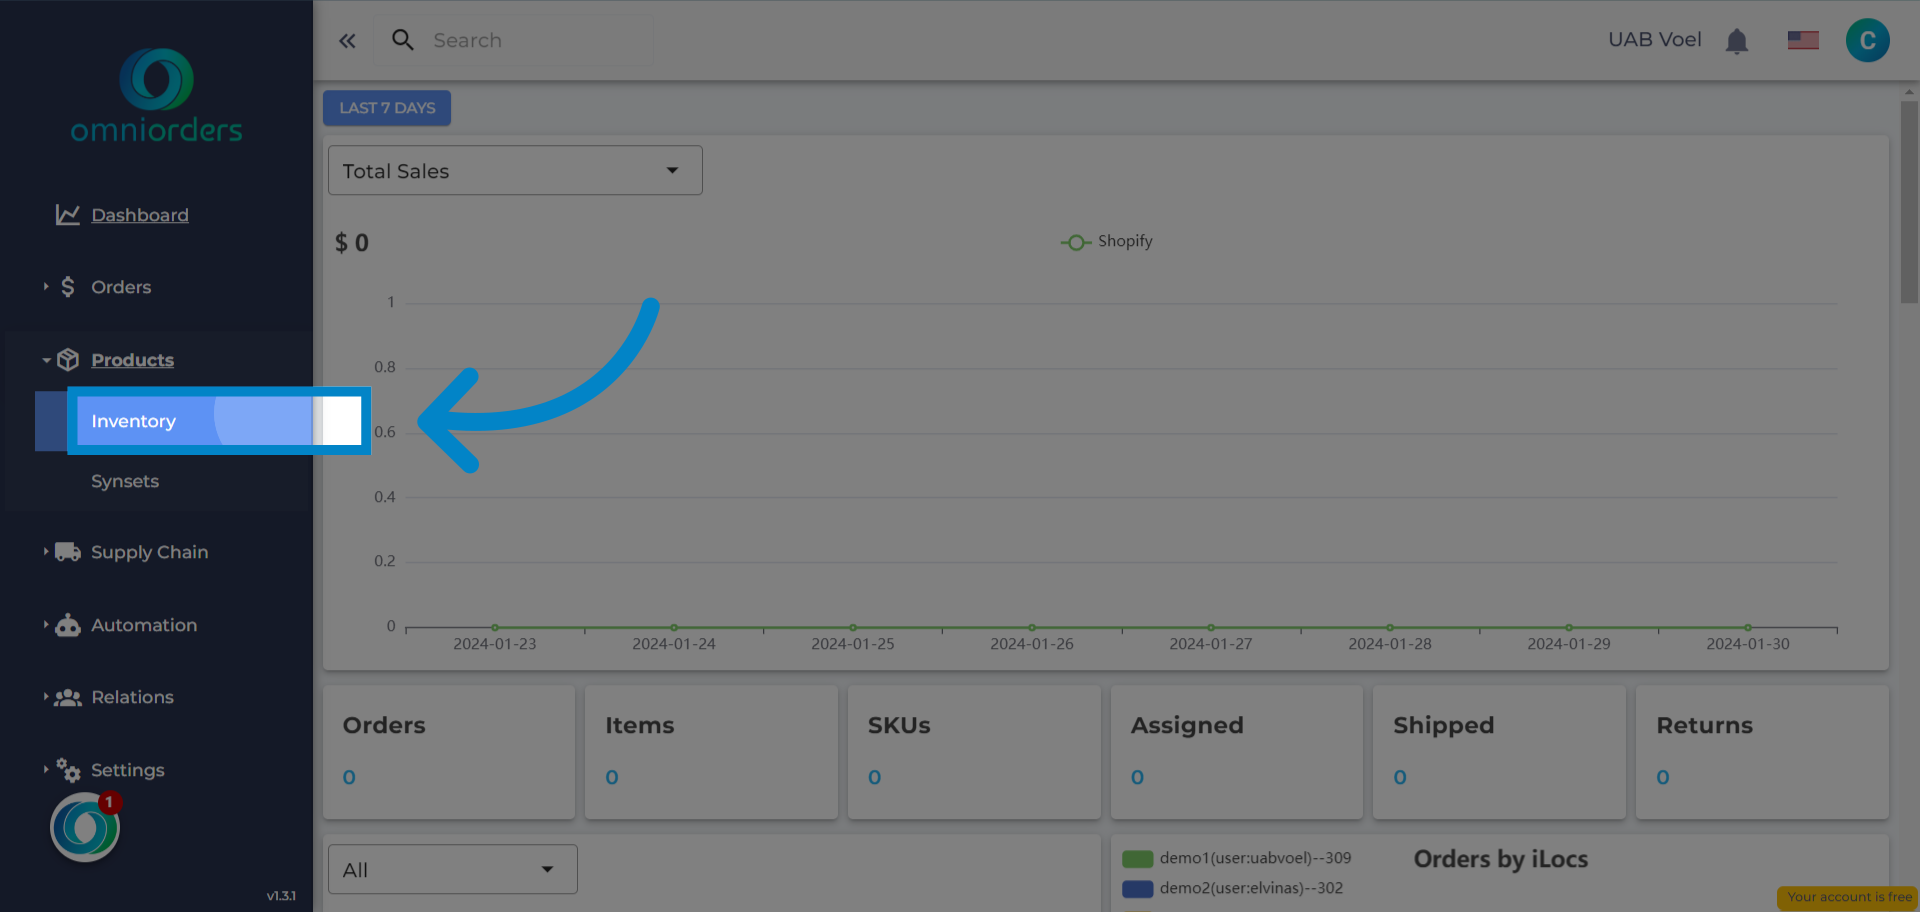
2. Click "Inventory"
Navigate to "Inventory"
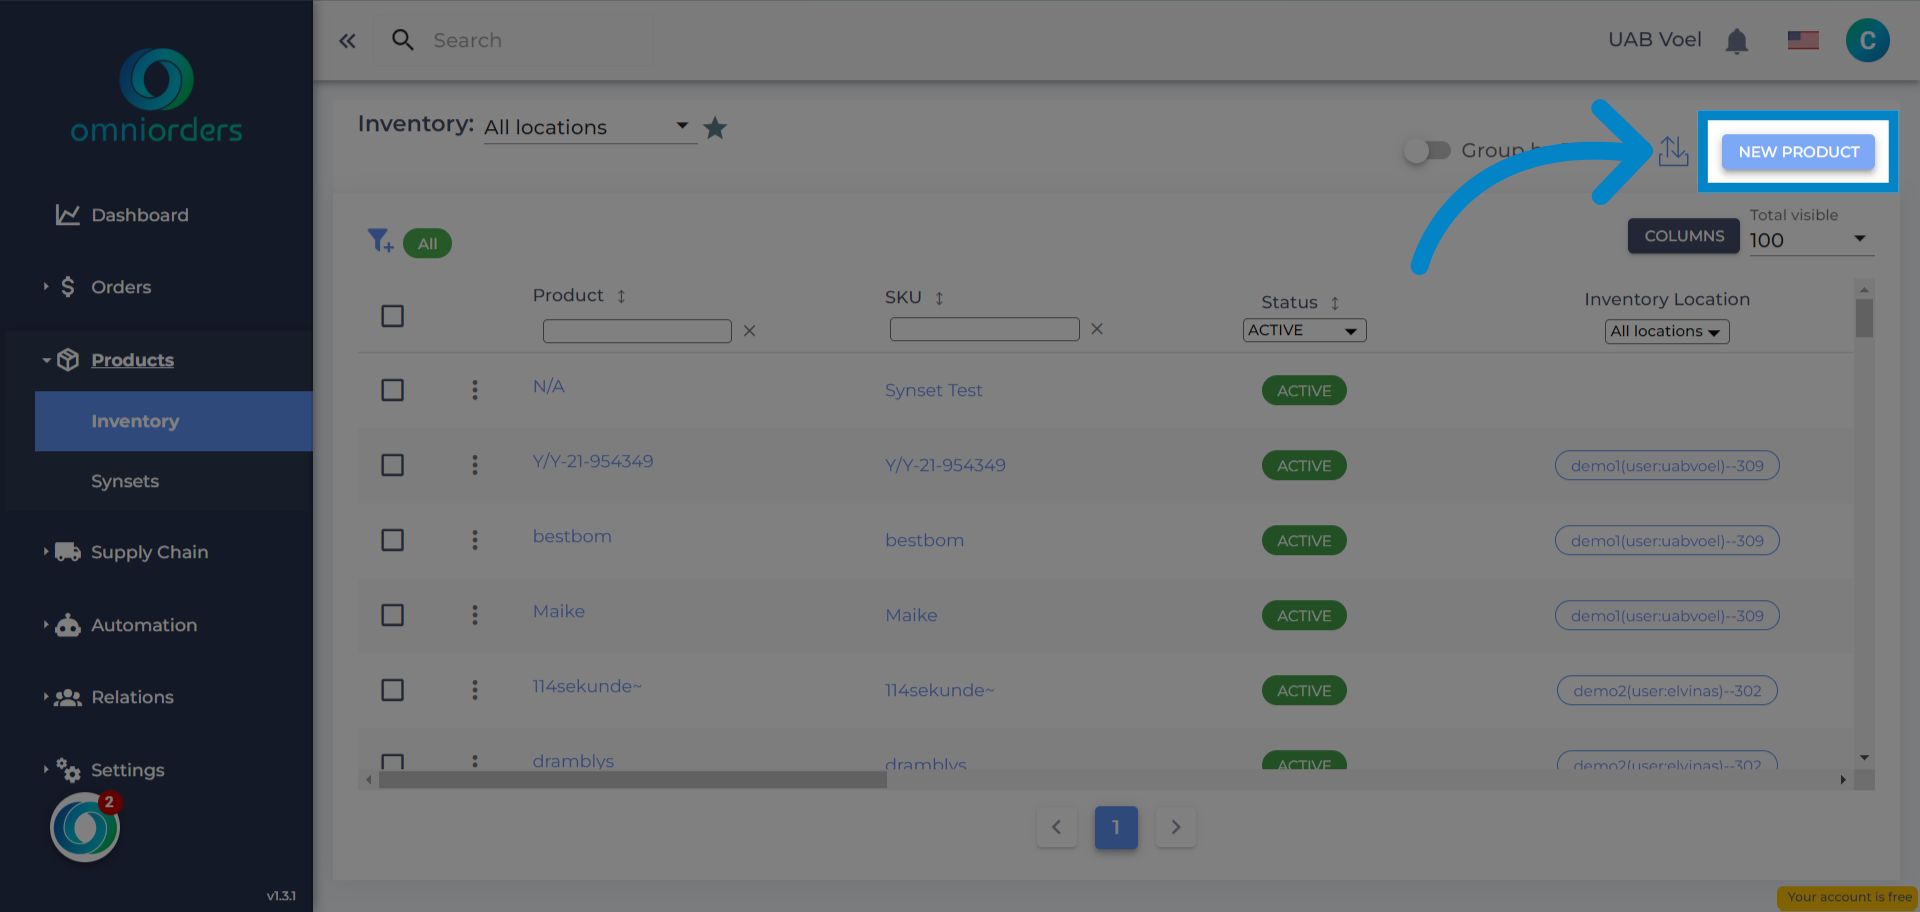
3. Click "New Product"
Now you see the inventory view. If this is your first time in this view, there won't be a lot of items here. To add a new product or SKU go ahead and select the "New Product" option.
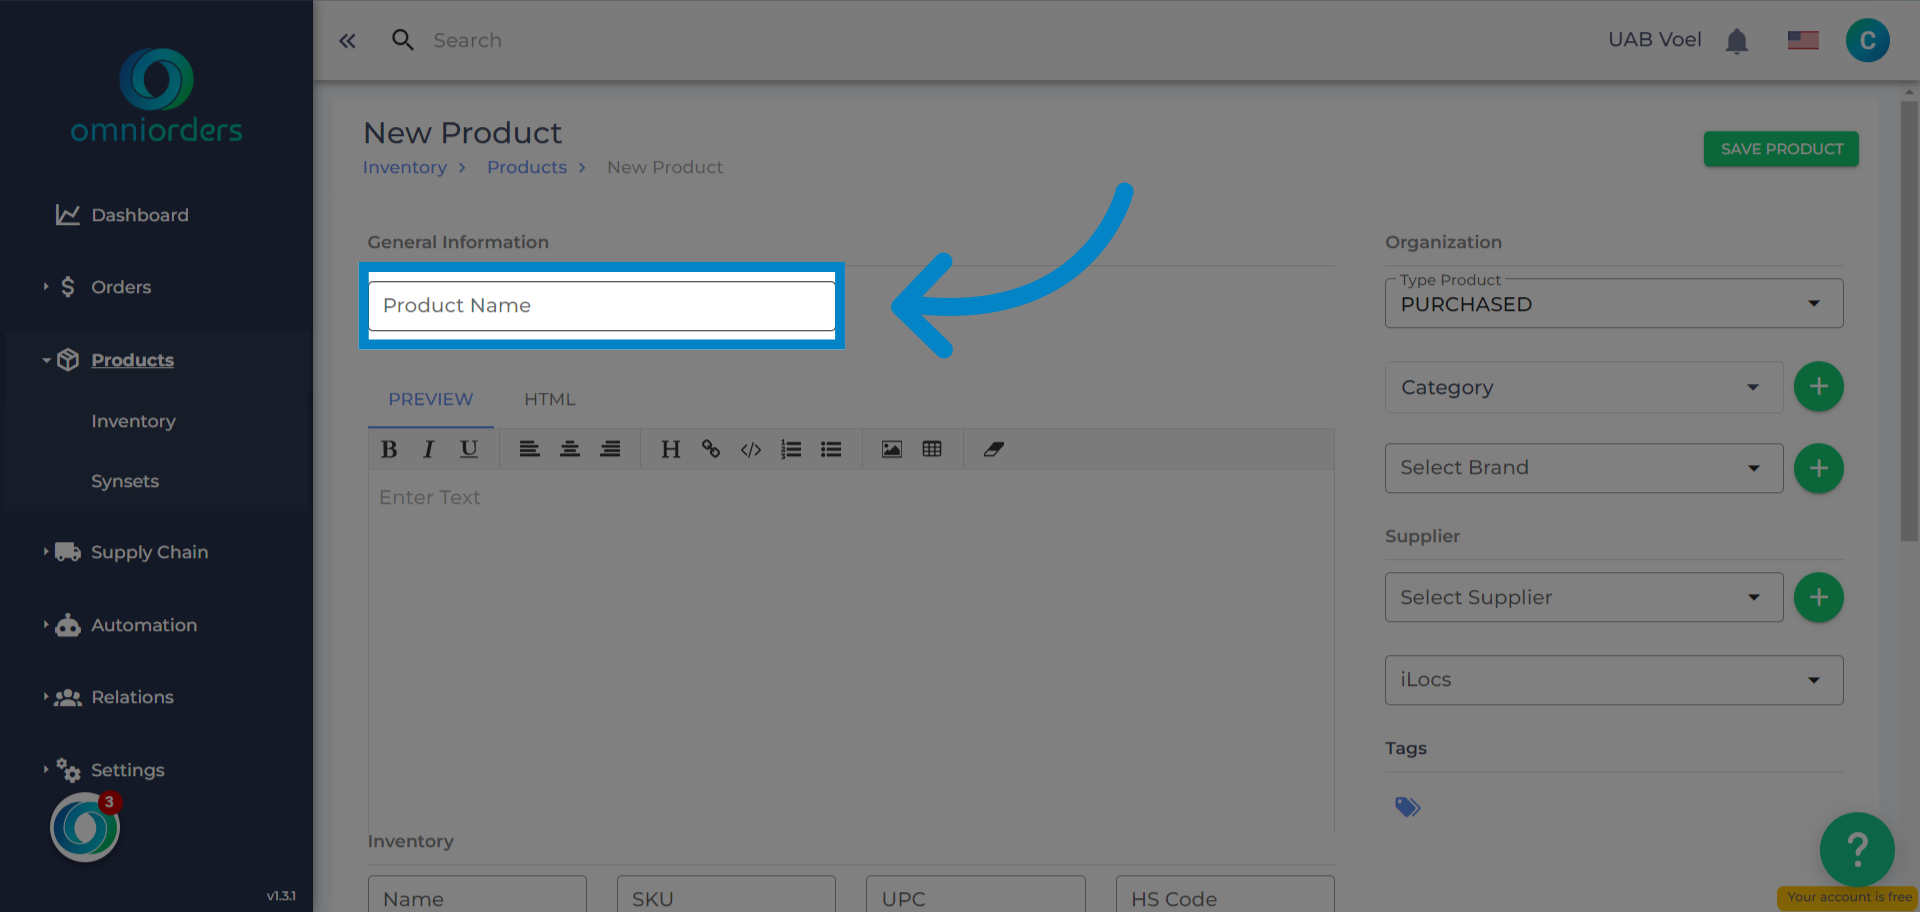
4. Click "Product Name"
Fill the name of your product.
5. Add a description
Write a description of your product. This field is required to create a new SKU.
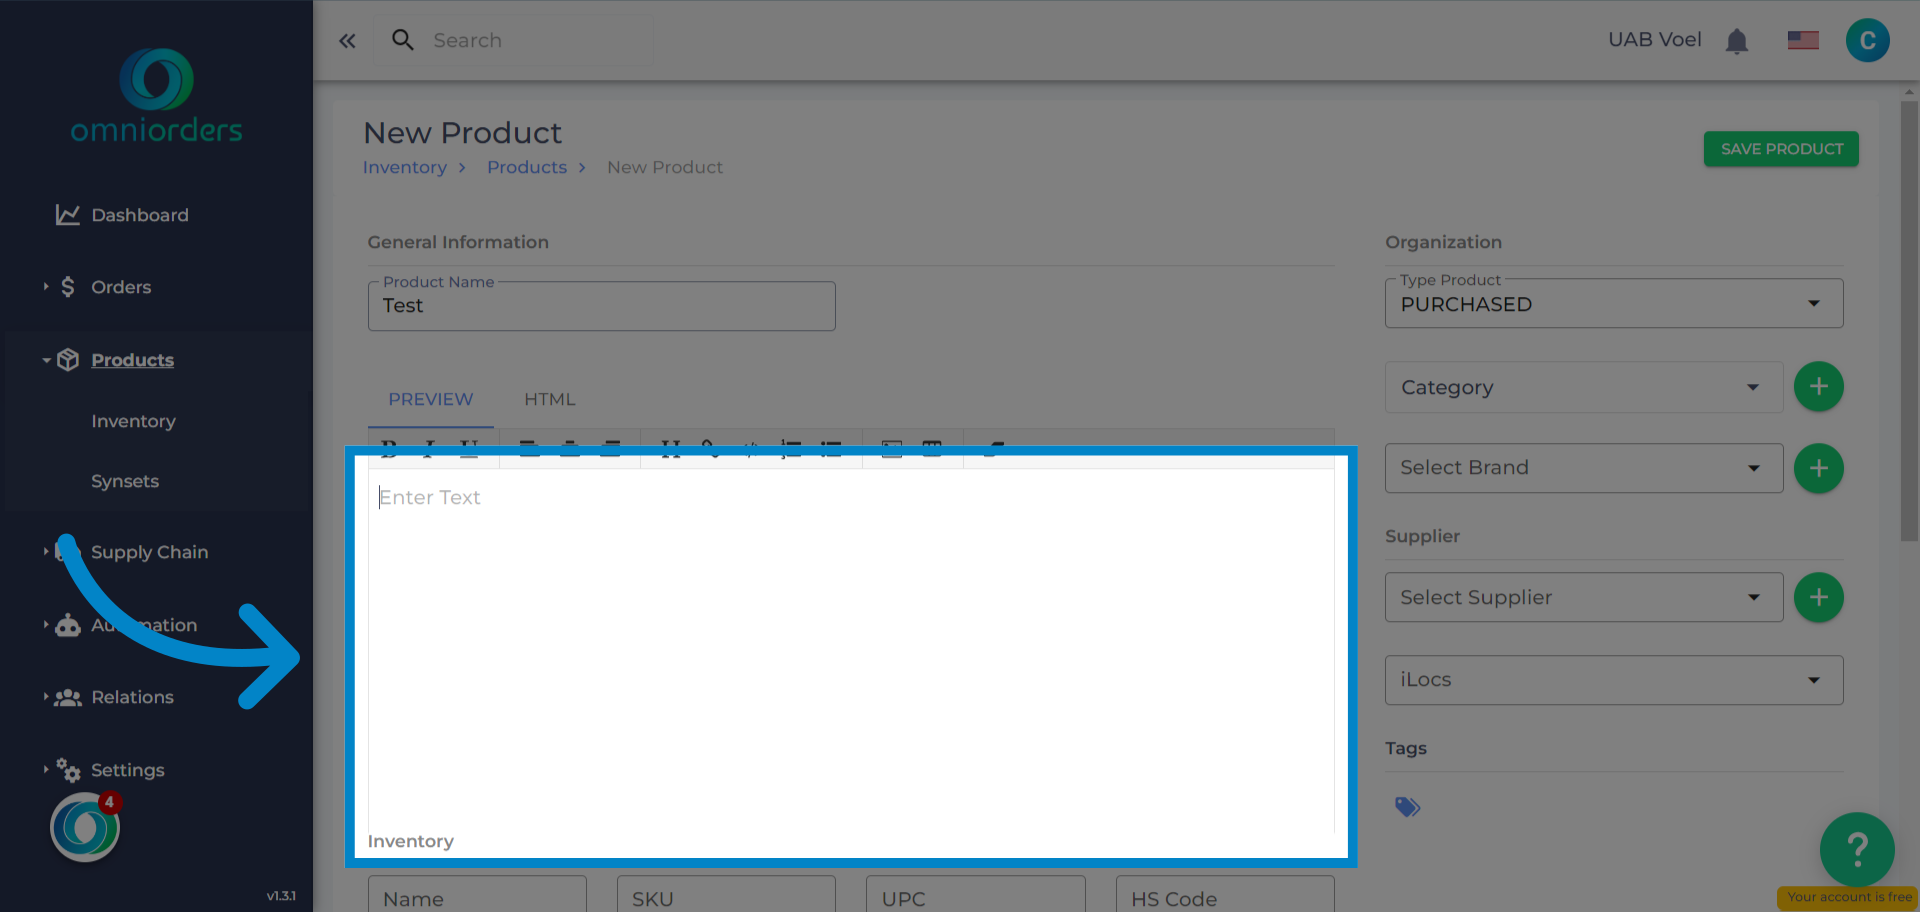
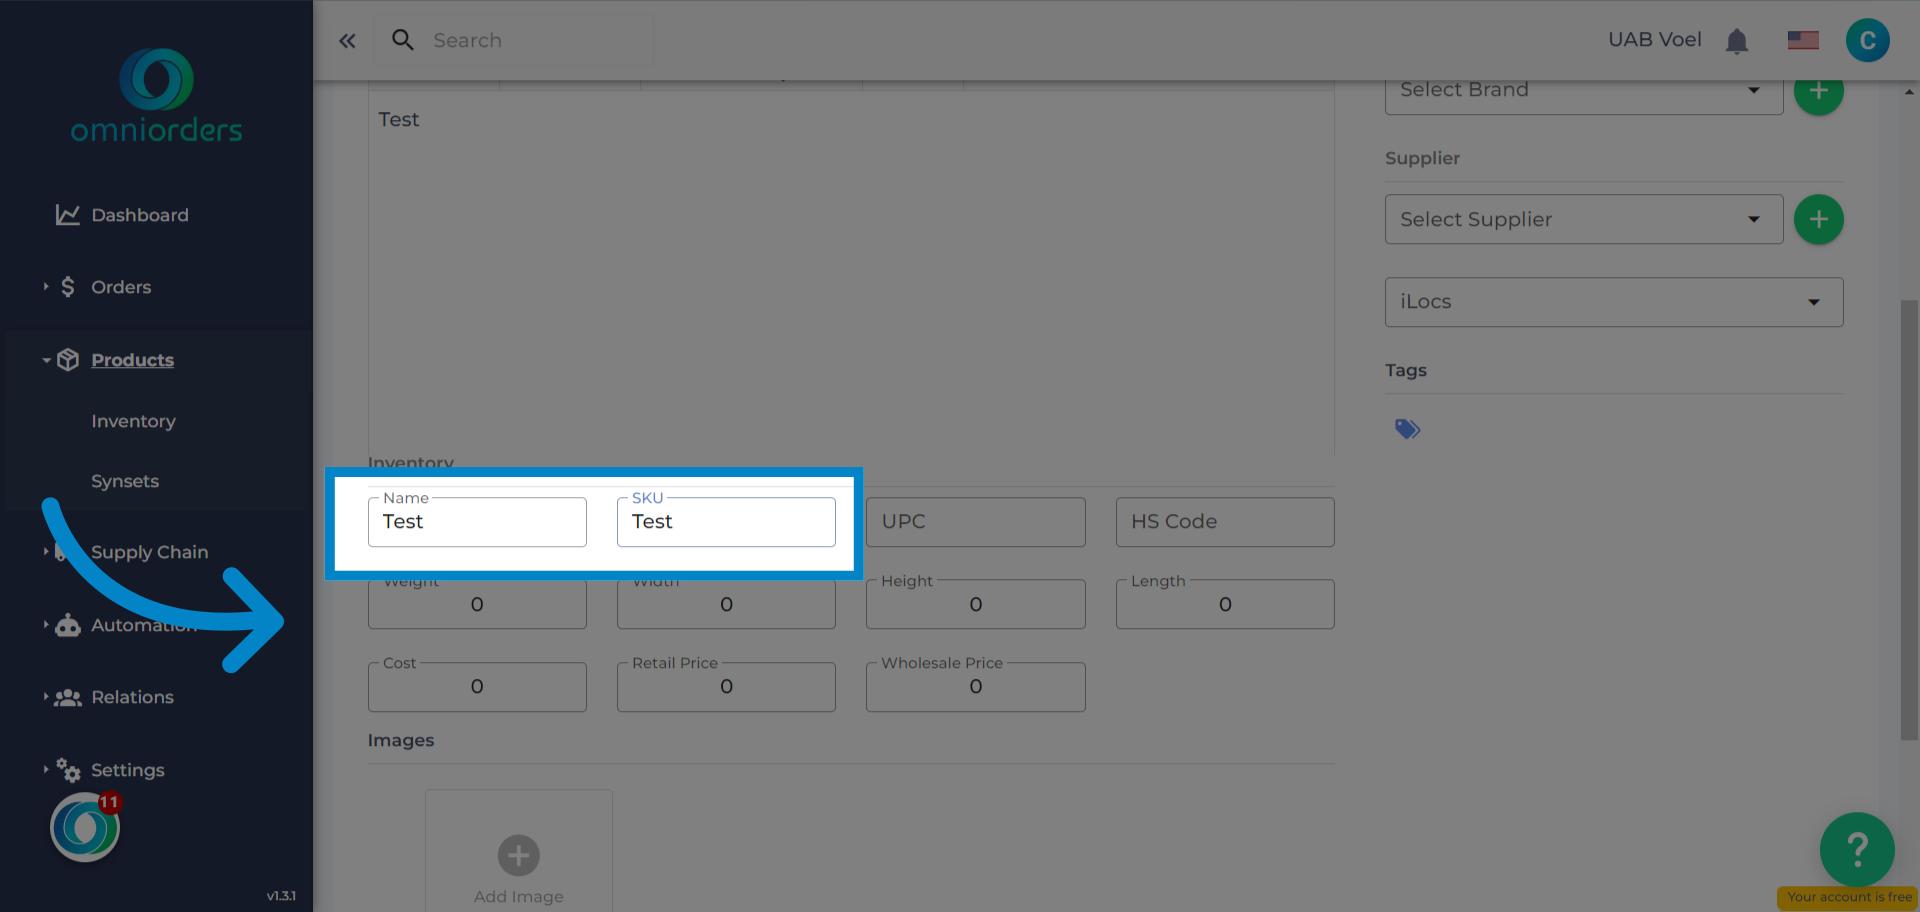
6. Fill the information about your product
The only attributes that are 100% required for the system to create a new SKU are the name and SKU fields. Other fields are optional, but we always recommend adding as much information as possible to make processes smoother in the future.
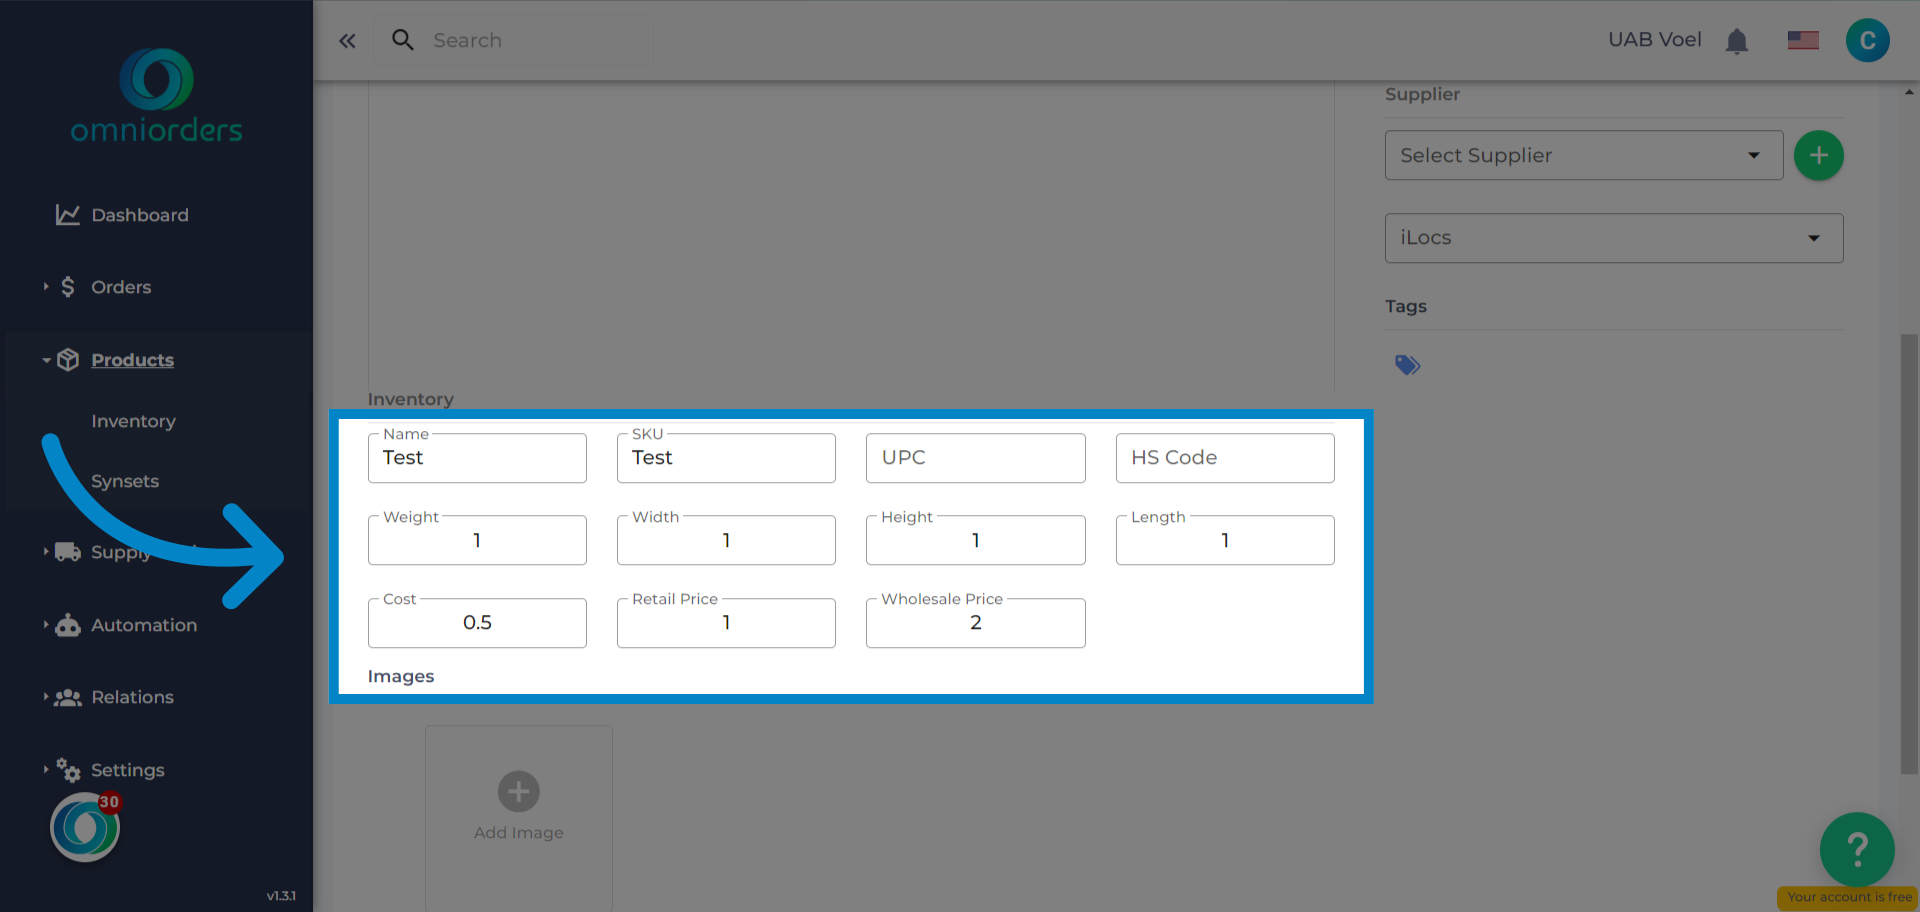
7. Dimensions fields
Weight, Width, Height and Length can lower your shipping cost. Other fields filled up can increase the efficiency of the fulfilling process.
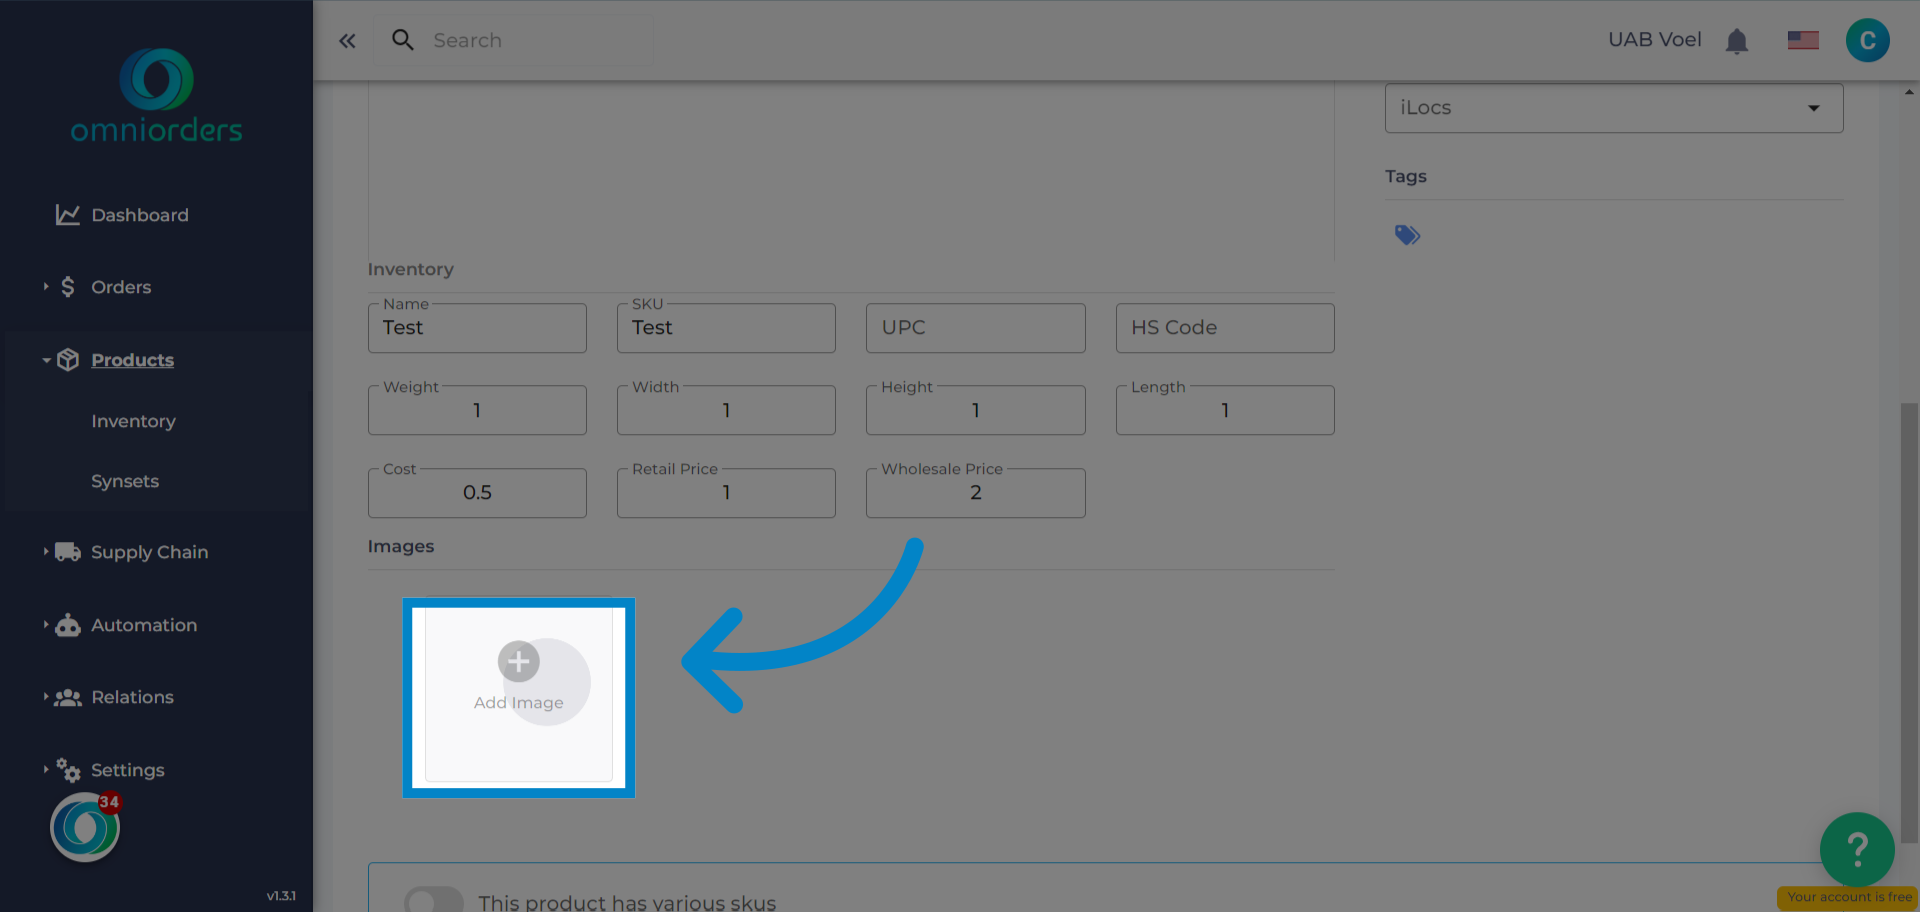
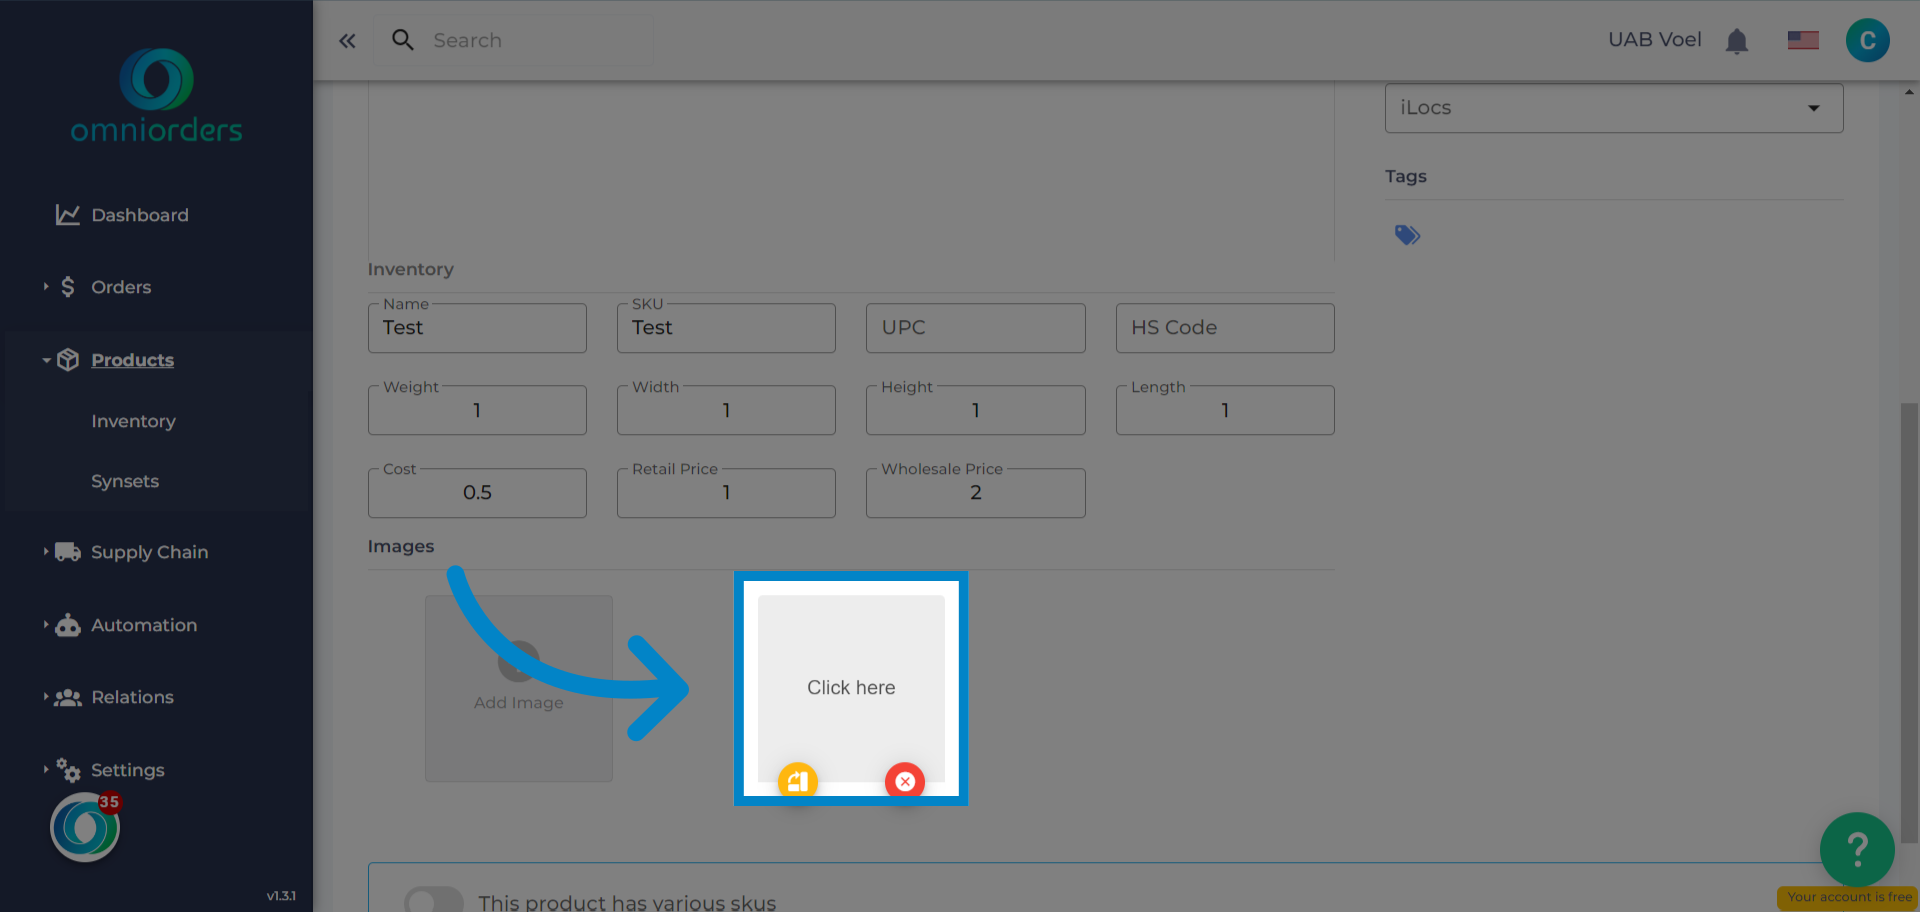
8. Click "Add image"
Select this option if you want to upload a picture of your SKU.
9. Click here
Navigate here to upload it.
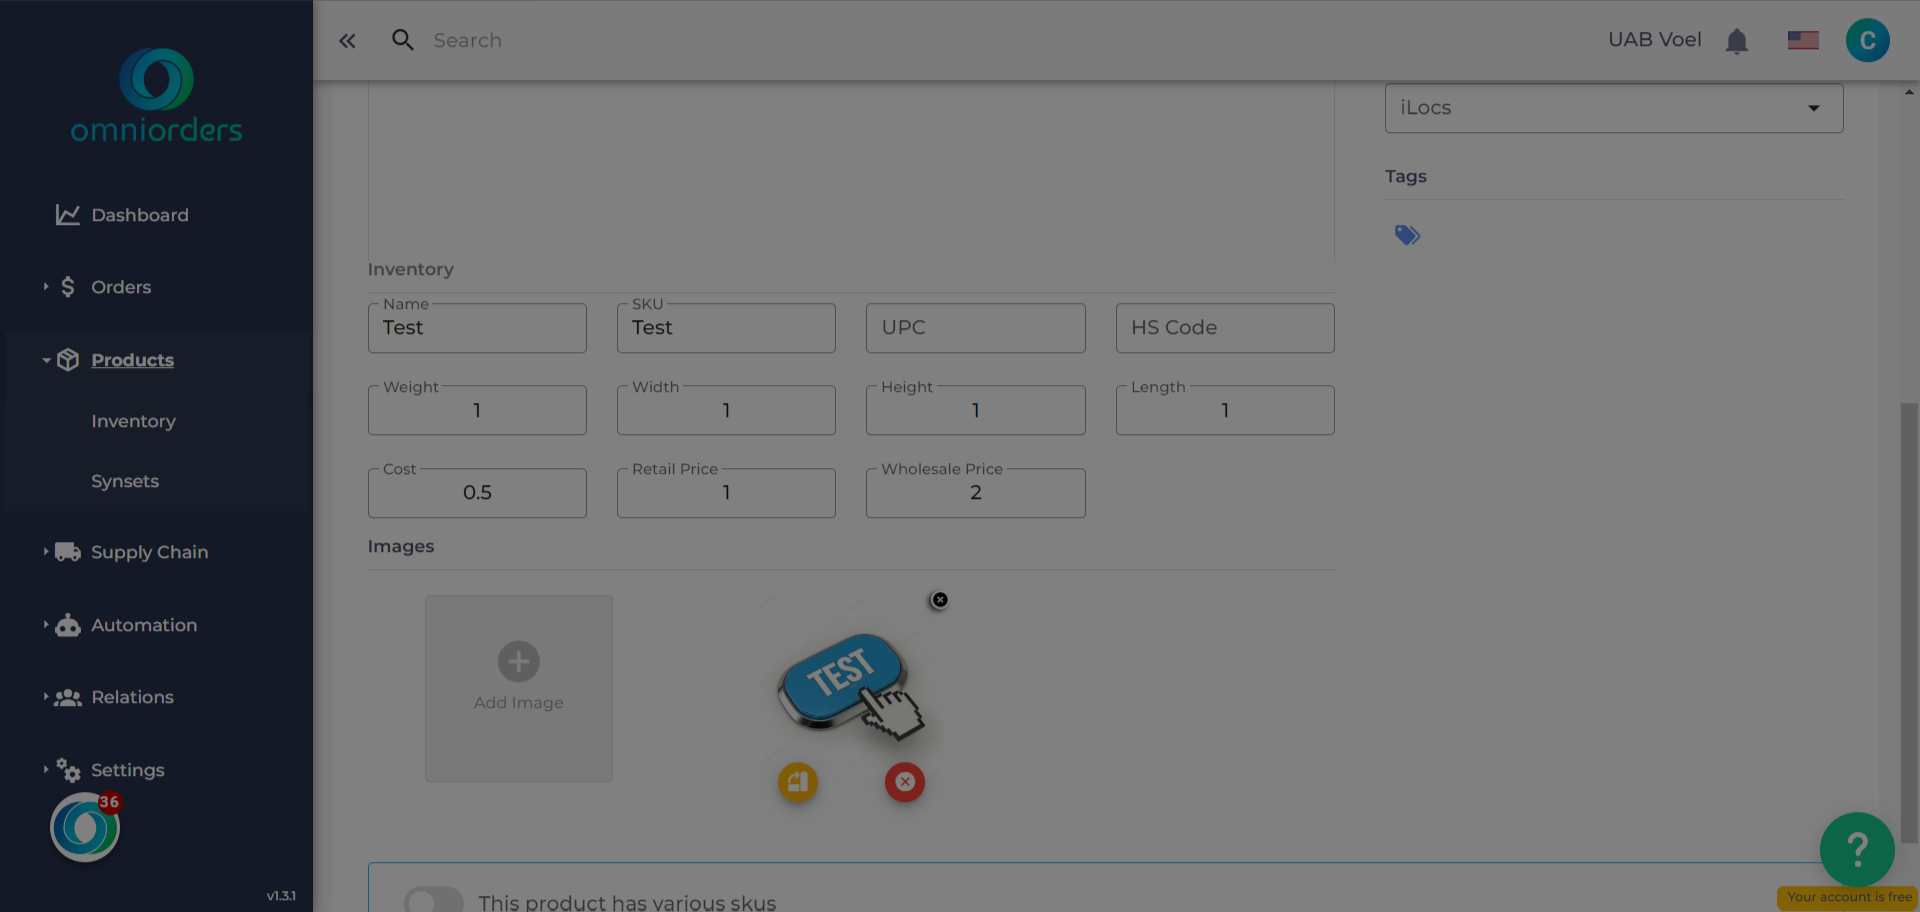
10. Picture of your SKU
Once you upload it, the picture of your SKU will be seen here.
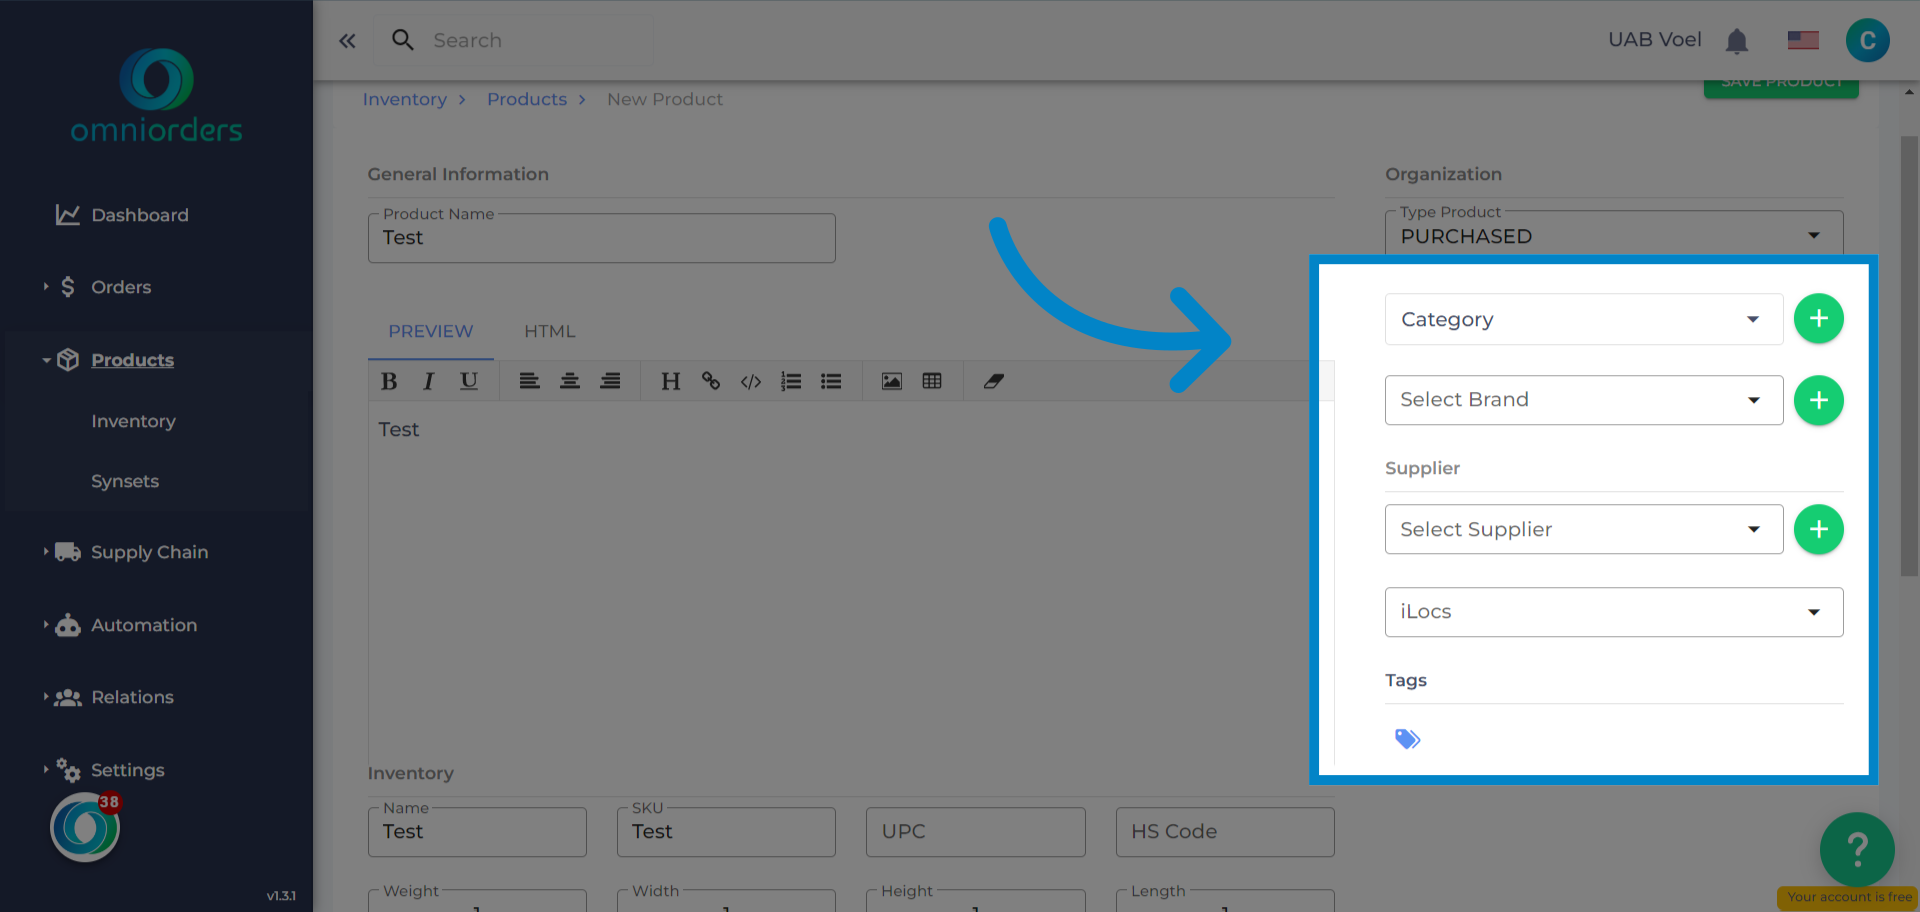
11. Click "OrganizationType ProductPURCHASED Category Select BrandSupplierSelect SupplieriLocsTags"
You can add the category or the brand of your product, and also add a supplier or iloc here.
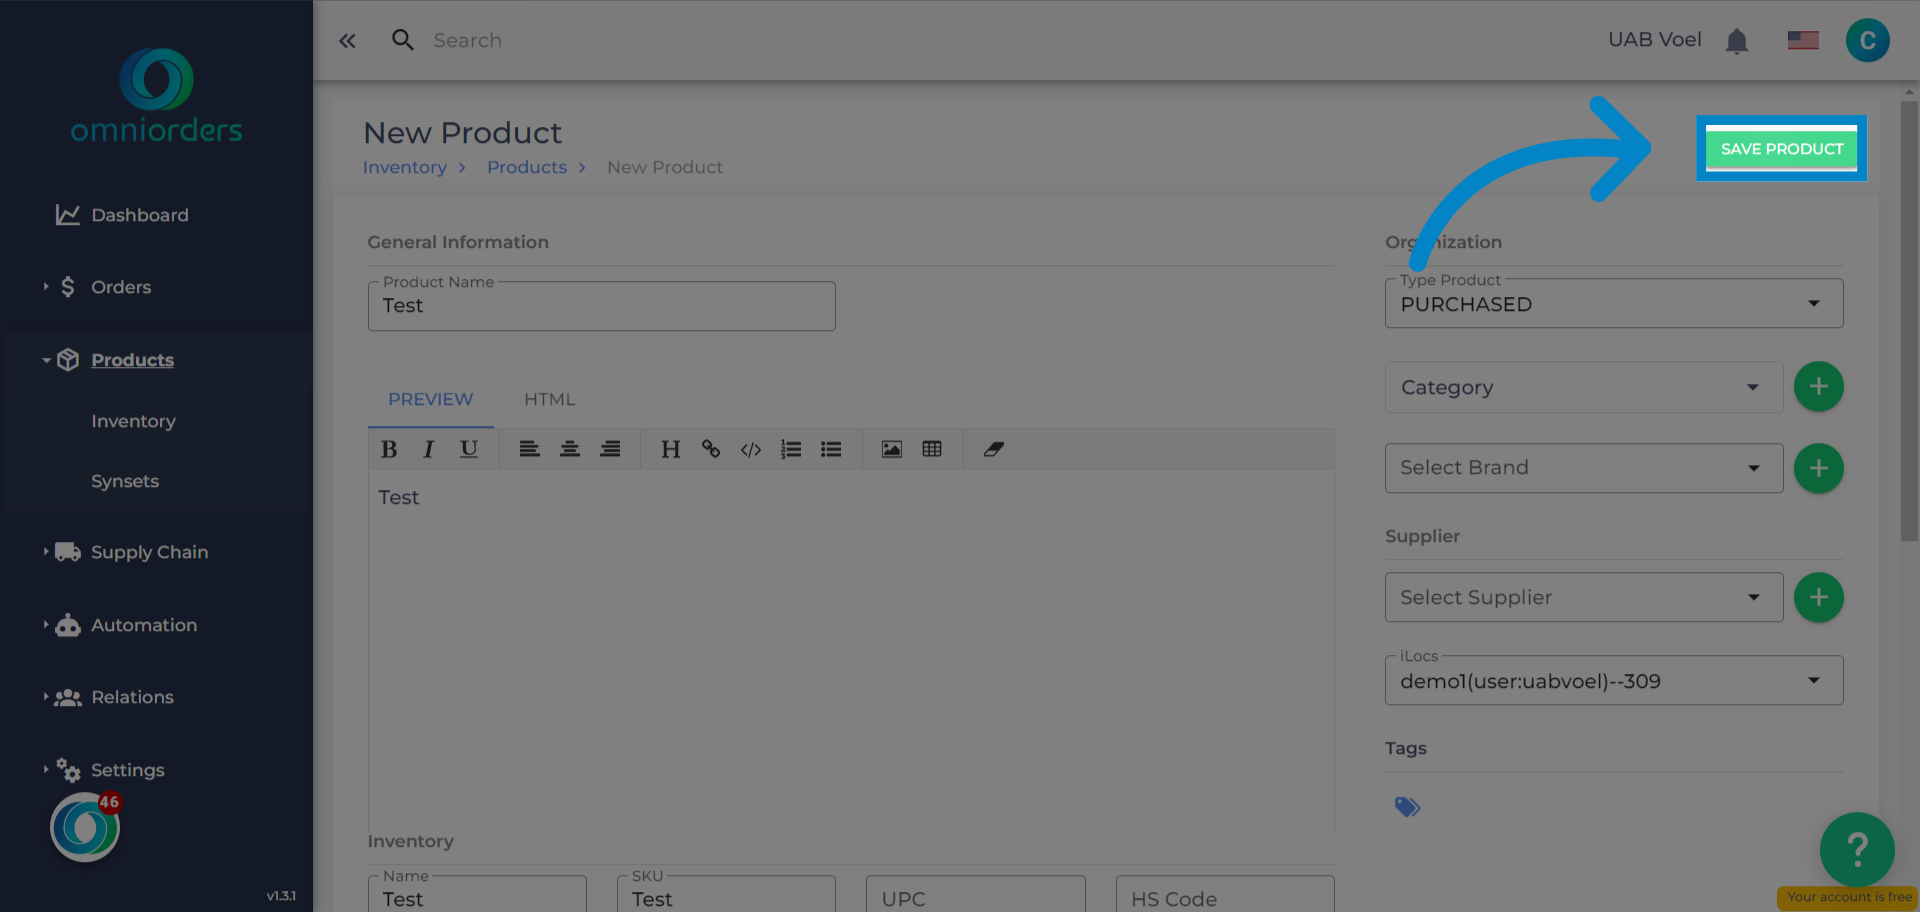
12. Click "Save Product"
Navigate to "Save Product" once you are done.
This guide covered the steps required to Adding the first SKUs to the OmniOrders system.
Was this article helpful?
That’s Great!
Thank you for your feedback
Sorry! We couldn't be helpful
Thank you for your feedback
Feedback sent
We appreciate your effort and will try to fix the article